Lately, I have been really into painting my nails and finding new and fun nail designs! I have been painting my nails about every week, and I've found a lot of cute new styles. My favorite by far has been "galaxy nails." This cute design is so simple but looks as if the galaxy is on your fingernails. Here is a tutorial on how to achieve these awesome nails, that are way easier than they look!
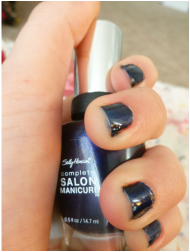
Step 1: Paint your nails a dark blue or black. I'm using Sally Hansen Complete Salon Manicure nail polish in the color "Navy Baby." Black will work better, but I don't own a black nail polish right now. This is going to be your "sky" or base color.
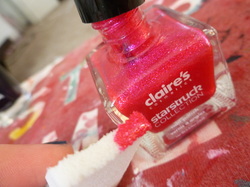
Step 2: Apply a sparkly pink to the smaller end of a makeup sponge. I'm using Claire's flying saucer pink from the Starstruck collection. It is a pretty bright pink that is very shiny and sparkly. Make sure the polish doesn't have actual glitter pieces in it.
Step 3: Dab the sponge onto your nails in random spots. Don't cover the entire nail, just splotch the pink on randomly.
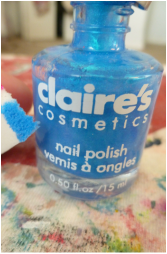
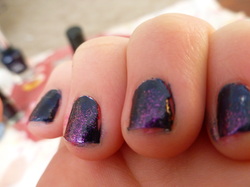
Step 4: Likewise to the pink paint a sparkly bright blue onto your sponge. I'm using Claire's nail polish in "Fresh Water." Again, you don't want actual glitter pieces in the polish. If your blue is not sparkly, it will still work, but it won't stand out quite as much.
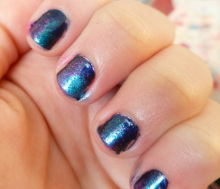
Step 5: Again, similar to the pink, dab the sponge with the blue polish onto your nails in random spots. You shouldn't need to repaint the sponge, because you don't want the polish to be too thick on your nail. You should splotch on thin layers.

Step 6: Now time to add some stars to your sky! Use a clear polish with small glitter and swipe it on top of your nail. The glitter really looks like stars! I'm using L.A. Colors Color Craze BCC557 nail polish.
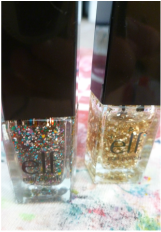
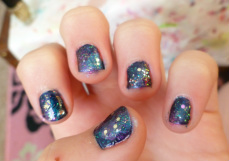
Step 7: To finish off the galaxy add some planets! Any glitter polish with big pieces of glitter will work. When applying the glitter don't swipe it onto your nail! You only want two or three pieces of glitter or "planets" on each nail, so carefully dab the glitter onto your nails in random spots. I used two different glitter nail polishes for this step: Elf Chic Confetti and Elf Gold Star.
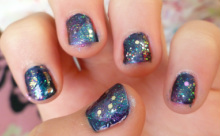
Step 8: Finish your nails off with a clear top coat and you are done! Comment what you think, or post a picture on instagram and tag me (@livetolove_321) to show me your nails! Thanks for reading! I will see you all next Saturday for new posts!
 RSS Feed