
Spring is finally here, which means it's time to say hello to spring trends! One of the most popular trends has been the color mint! Here is all you need to know on styling this pretty pastel, as well as some outfit ideas!
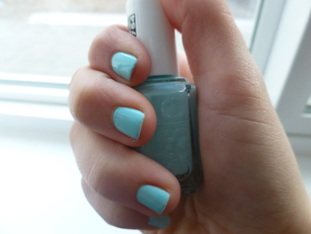
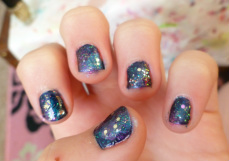
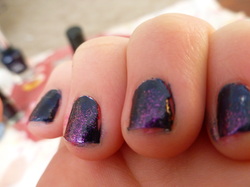
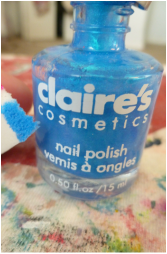
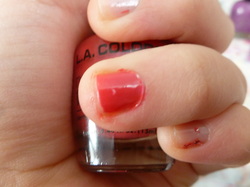
Nail polish: Mint nail polish is super pretty and girly, and is the perfect color for spring!
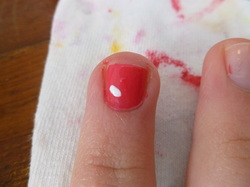
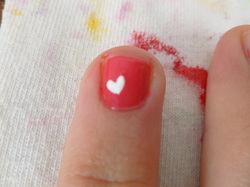
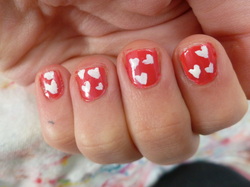
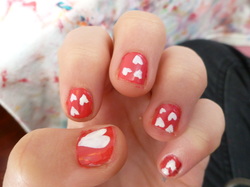
Styling it: When wearing mint polish make sure not to go too crazy with the designs, you don't want to take away from the gorgeous simplicity of the color. Need a design? Stick with simple white polk-a-dots, or a rose on your ring fi
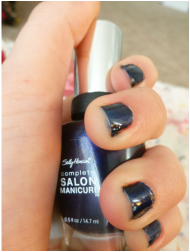
Purchasing it: My all time favorite mint polish isApple" by Essie, but if you are looking for a cheaper alternative "Mint Sorbet" by Sally Hansen is also a great color, though it is a bit more on the green side.
Styling it: When wearing mint polish make sure not to go too crazy with the designs, you don't want to take away from the gorgeous simplicity of the color. Need a design? Stick with simple white polk-a-dots, or a rose on your ring fi
Purchasing it: My all time favorite mint polish isApple" by Essie, but if you are looking for a cheaper alternative "Mint Sorbet" by Sally Hansen is also a great color, though it is a bit more on the green side.
Scarves: Ah, yes. One of my favorite accessories all year round...scarves! Why not incorporate the lovely mint color into our scarves?
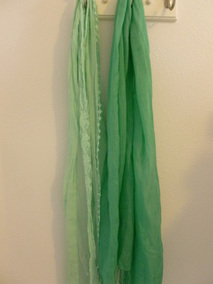
Styling it: Light-weight scarves can add alot to any outfit! Pair a lacey mint scarf with a simple white tee for an instant casual spring look! There is really no wrong way to wear a scarf in the spring. My biggest tip would be to avoid wearing a mint tshirt or tank top with a scarf of the same shade! You want to wear mint, not have it wear you!
Purchasing it: I got the lighter mint scarf on the left from Maurices! It is a lighter mint, and is super delicate and pretty with lace detailing. The one on the right, I recieved as a birthday gift from a friend. It is a darker, more green minty shade, and is perfect for a more casual look. If you don't have a Maurices (or a friend who buys you clothes) you can find minty scarves at lots of other stores too! Your best bets are Macy's, Target, and Forever 21, but more and more stores are starting to sell them!
Jewelry: Mint-colored jewlery such as bracelets,rings,necklaces, and earrings are all great ways to spice up an outfit for spring!
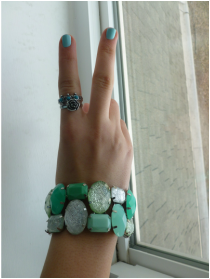
Styling it: In the picture to the right I am wearing a mint gemstone bracelet and a minty ring, paired with rose ring. Make sure your mint isn't too overpowering;jewelry with mint accents can keep your color theme together, without looking like your painted in the color. You can also tone it down by mixing silver, white, or gold colored jewelry with your mint jewelry.
Purchasing it: My bracelet is from Maurices and the rings are from Claire's, but as I said with the scarfs, so many stores are selling mint accessories now! Just keep an eye out for a good deal! Claire's is a good place to start since there new spring line of jewelry includes a bunch of mint!
+
Clothing: Probably the most common, and my favorite way to wear mint, is simply your clothing!
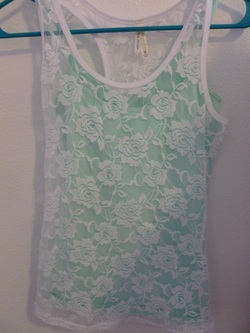
Styling it: How to wear mint clothes, depends on clothing piece. One of the most popular pieces is mint pants! Style some mint shorts or pants with a white tank top or tee for a simple look. If you are feeling more daring, add a bright pink blazer! Wear it right, mint and pink look great together! Another way to style mint clothes is by pairing it with anything floral! A mint dress and floral cardigan or sweater gives a cute spring outfit for a date, or day out. A casual everyday outfit is to wear a mint cami with a dainty lace tank top on top, like I showed in the picture to the left.
Styling it: How to wear mint clothes, depends on clothing piece. One of the most popular pieces is mint pants! Style some mint shorts or pants with a white tank top or tee for a simple look. If you are feeling more daring, add a bright pink blazer! Wear it right, mint and pink look great together! Another way to style mint clothes is by pairing it with anything floral! A mint dress and floral cardigan or sweater gives a cute spring outfit for a date, or day out. A casual everyday outfit is to wear a mint cami with a dainty lace tank top on top, like I showed in the picture to the left.

 RSS Feed